Jump To Section
In our increasingly digital world, the art of mailing might seem like a relic of the past. However, whether it’s for sending out wedding invitations, managing a business or organizing an extensive mailing campaign, the need for physical mail persists. At the heart of this process are address labels — an essential tool that combines efficiency, professionalism and personal touch when mailing correspondence. Knowing how to print address labels is essential.
To navigate the world of printing address labels, it’s important to familiarize yourself with the tools that make this task more accessible and more efficient. This guide explores how to print address labels using popular software tools — Microsoft Excel, Microsoft Word, and Google Sheets. Each of these tools offers unique features and benefits.
Preparing to Print Address Labels
Before discussing how to print address labels, laying the groundwork is crucial. Proper preparation is essential to ensure your address labels are aesthetically pleasing and functional. This section will guide you through choosing the right label paper and setting up your printer. Before these steps, ensure your addresses are formatted correctly using USPS-designated state abbreviations.
Choosing the Right Label Paper: Sizes and Types
The first step in preparing to print address labels is selecting the appropriate label paper. Labels come in various sizes, shapes, and materials, each suited for different purposes. The most common sizes include:
- Standard Address Labels: Typically measuring 1″ x 2 5/8″, these are ideal for most mailing purposes.
- Shipping Labels: Larger in size, often around 2″ x 4″, suitable for packages and large envelopes.
- Return Address Labels: Smaller, often 1/2″ x 1 3/4″, used for the sender’s address.
The type of label paper also matters. Options range from matte to glossy, with some designed specifically for inkjet or laser printers. Matte labels are better for handwritten address labels, while glossy labels offer a more polished, professional look. Choosing label paper compatible with your printer type is essential to avoid smudging and ensure print quality.
Printer Setup: Ensuring Compatibility and Settings
Once you’ve chosen your label paper, the next step is to ensure your printer is correctly set up. Here are vital aspects to consider:
- Printer Type: Know whether you have an inkjet or laser printer, as this determines the kind of label paper you should use.
- Printer Settings: Adjust the settings to match the label paper. This usually involves selecting the correct paper size and type in the printer preferences. For labels, you might need to choose a “heavy paper” setting to accommodate the thicker label sheets. Be sure to set your “Scale” setting to “Custom” and then set it to “100” to ensure proper printing.
- Alignment and Feed: Ensure the labels are properly aligned in the printer tray. Labels should be fed into the printer to prevent jamming and ensure even printing.
By choosing the proper label paper and setting up your printer correctly, you set the stage for a smooth and successful label printing process. With these preparations, you can now use Excel, Word or Google Sheets to create and print your address labels.
How to Print Address Labels From Excel
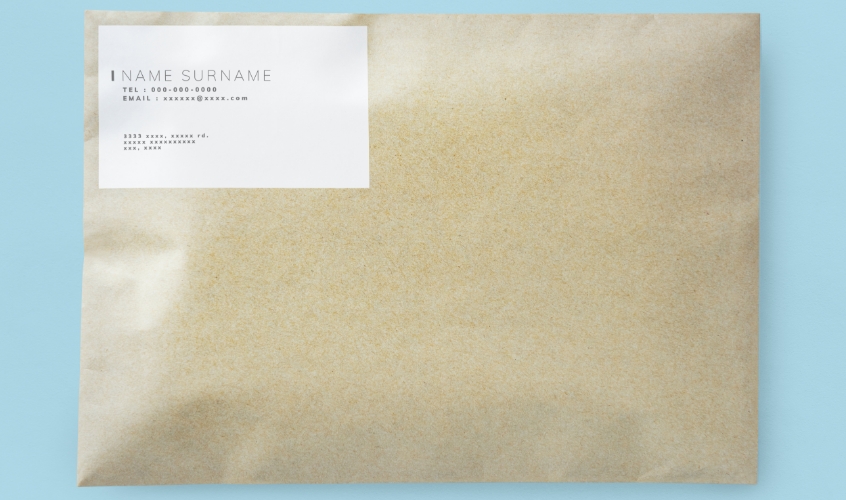
Learning how to print address labels from Excel is straightforward. Microsoft Excel, known for its robust data management capabilities, is an excellent tool for organizing and preparing address data for label printing. This section outlines the steps to effectively use Excel and Microsoft Word’s Mail Merge feature to print address labels.
Step 1: Setting Up Your Data in Excel
Organize your address data in columns. Begin by setting up your Excel spreadsheet with each piece of address information in separate columns. For example, have columns for First Name, Last Name, Address Line 1, Address Line 2, City, State and Zip Code.
Ensure consistency in your data. For instance, use the same format for all addresses (e.g., Street, St., or Str.). This uniformity is crucial for a professional look in the final print.
Use Excel’s data validation features to check for inconsistencies or errors in your data. Apply consistent formatting across all cells to maintain uniformity, such as text capitalization and state abbreviations. Save this workbook and move on to the next step.
Step 2: Download our Microsoft Word Template
Go to our free label templates and select the correct option for your label size. Download the template and follow the instructions to enable gridlines.
Step 3: Mail Merge with Microsoft Word
Open Microsoft Word and go to the “Mailings” tab. Select “Select Recipients” and choose “Use an Existing File.” Here, you will navigate to and select your prepared Excel file.
Then, format your document by adding the appropriate fields from the “Insert Merge Fields” button.
Add rules using the “Rules” button. We recommend just adding “Next Record” first in all the labels except the very first one.
Step 4: Printing and Troubleshooting
Preview labels before printing. Use the “Preview Results” option in Word to see how your labels will look once printed. This step is crucial to catch any formatting issues before printing.
Click “Finish & Merge” and then “Print Documents” to print your file. It will print all the names in the file, not just the one sheet that is shown.
Troubleshooting Common Issues
- Alignment Problems: If the labels are not printing correctly, recheck the label template settings and printer feed alignment.
- Data Errors: Incorrectly merged data usually points to issues in the original Excel file. Ensure that all data is correctly formatted and placed in the proper columns.
These steps will allow you to create professional-looking address labels efficiently using Microsoft Excel and Word. This method is particularly useful for large batches of labels, where Excel’s data management capabilities can significantly streamline the process.
How to Print Address Labels from Word
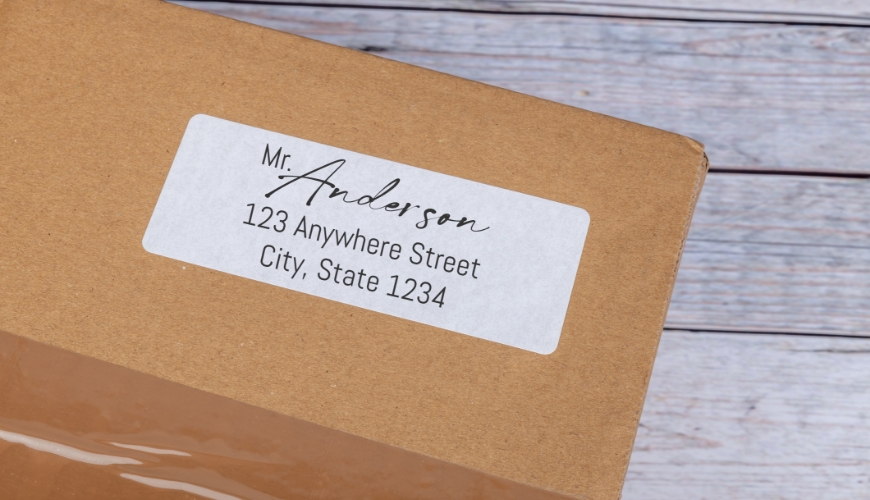
Understanding how to print address labels from Word takes just a few minutes. Microsoft Word is a user-friendly option for creating and printing address labels, offering a range of customizable templates and easy integration with external data sources. You can take advantage of our free label templates to produce picture-perfect labels.
Step 1: Download Our Label Template
Visit our templates page, download the appropriate template for your label size and enable grid lines.
Step 2: Entering and Formatting Text
Once your label template is set up, you can enter text directly into the labels. You can format this text like any other Word document — change the font, size, color and alignment as desired.
Step 3: Importing Addresses
Word allows you to select addresses from your built-in address book. Access this by clicking “Select Recipients” in the “Mailings” tab and choosing “Choose from Outlook Contacts.”
If your addresses are stored elsewhere, such as in an Excel file or a database, you can import this data by selecting “Use an Existing List” under “Select Recipients.” Navigate to your file and select it. This will link your external data to your label template. And then follow the Mail Merge instructions above.
Step 4: Printing and Fine-Tuning
Align your text and graphics. Ensuring that your text and any graphics are well-aligned within each label boundary is essential. Utilize the rulers and alignment tools in Word to adjust text boxes and images.
For adding graphics, use the “Insert” tab to place images or logos and adjust their size and position to fit within the label.
Before printing your entire set of labels, printing a test page on a regular sheet of paper is advisable. Hold this test print up against a sheet of label paper to check the alignment.
Make any necessary adjustments in your document based on this test print to ensure that the actual labels print correctly.
You can efficiently create and print customized address labels by leveraging Microsoft Word’s intuitive interface and versatile features. Whether pulling addresses from an existing database or entering them manually, Word provides the tools to quickly produce professional-looking labels.
How to Print Address Labels from Google Sheets
The process is a snap once you know how to print address labels from Google Sheets. For users integrated into the Google ecosystem, Google Sheets offers a cloud-based, collaborative solution for creating and printing address labels. If you know how to print address labels from Word, then you already know how to print address labels from Google Sheets.
Use Google Sheets to arrange your address data, just as with Excel. Then, download the data as a .CSV file and upload it to Word for a Mail Merge.
Frequently Asked Questions About How to Print Address Labels
The $47.7 billion self-adhesive label market is vast, and it can be hard to know who to trust. But Premium Label Supply is here with the answers you want about how to print address labels. Read the following questions to learn more.
How Can I Prevent My Address Labels From Smudging When Printing?
To prevent smudging, ensure you’re using the correct type of label paper for your printer (inkjet or laser). Also, check your printer settings to match the label paper type. Allow the printed labels a few moments to dry completely before handling them.
What Should I Do If The Labels Are Misaligned When Printing?
If labels are misaligned, check the alignment settings in your label-making software and ensure you’ve chosen the correct label template. Then, check your printer for any feed issues. Sometimes, printing a test page and adjusting the printer settings or alignment can resolve this issue. When using our labels, change your “Scale” setting to “Custom” and then set it to “100” to ensure proper alignment.
Trust Your Address Label Needs to Premium Label Supply
Now that you know how to print address labels, you’re ready for the next step. Premium Label Supply offers a complete inventory of labels for your convenience. We manufacture all our products in the U.S. to ensure the highest quality. Stop shopping for labels today and see the difference Premium Label Supply can make.
Related Articles
How to Create a Shipping Label: Your Guide to Making Shipping Labels Properly
Shipping Labels | May 31, 2023
Learn the ins and outs of building an effective shipping label …
Sheet Labels vs. Roll Labels: The Ultimate Comparison Guide
Roll Labels, Sheet Labels | May 8, 2023
Discover the differences between roll labels and sheet labels …

Rectangle Labels | November 28, 2023
See how you can use labels to create effective name tags …

